

Build a Modern Desktop Screenshot & Annotation Tool - Day 1: Screenshot Capture Tool

Projects in this week’s series:
This week, we progressively build a modern desktop screenshot and annotation tool with Python.
Why build this? Because taking screenshots is something we do constantly — for documentation, bug reports, tutorials, sharing — but built-in tools are limited. Build your own powerful screenshot app with custom features!
What you’ll learn: This series teaches you desktop GUI development with Tkinter, image processing with Pillow, screen capture with mss, file management, keyboard shortcuts, and building polished desktop applications. These skills apply to any desktop software project.
Why users love this: No more fumbling with system screenshot tools or paying for premium apps. Capture fullscreen, grab center regions, auto-save with timestamps, preview instantly — all with keyboard shortcuts. Your own professional screenshot tool!
Day 1: Screenshot Capture Tool (Today)
Day 2: Screenshot Annotator
Day 3: Screenshot Manager Dashboard
Today’s Project
We’re starting with the foundation: we’re creating a desktop app that captures screenshots — both fullscreen and center region — saves them automatically with timestamps, shows live previews, and responds to keyboard shortcuts!
You’ll learn how to build modern GUIs with Tkinter, capture screens with the mss library, process images, and create intuitive desktop applications!
Project Task
Create a screenshot capture tool that:
Launches a modern desktop GUI window
Captures fullscreen screenshots with one click
Captures center region screenshots (middle 50% of screen)
Shows live preview of captured screenshot
Auto-saves with timestamp (screenshot_2026-03-31_14-30-45.png)
Saves to dedicated Screenshots folder
Supports keyboard shortcuts (F1=fullscreen, F2=center region)
Displays capture status and file location
Opens screenshot folder from app
Clean, modern interface with Mac compatibility
This project gives you hands-on practice with Tkinter GUI development, cross-platform screen capture with mss, image processing, file operations, and building polished desktop applications — essential skills for desktop software development!
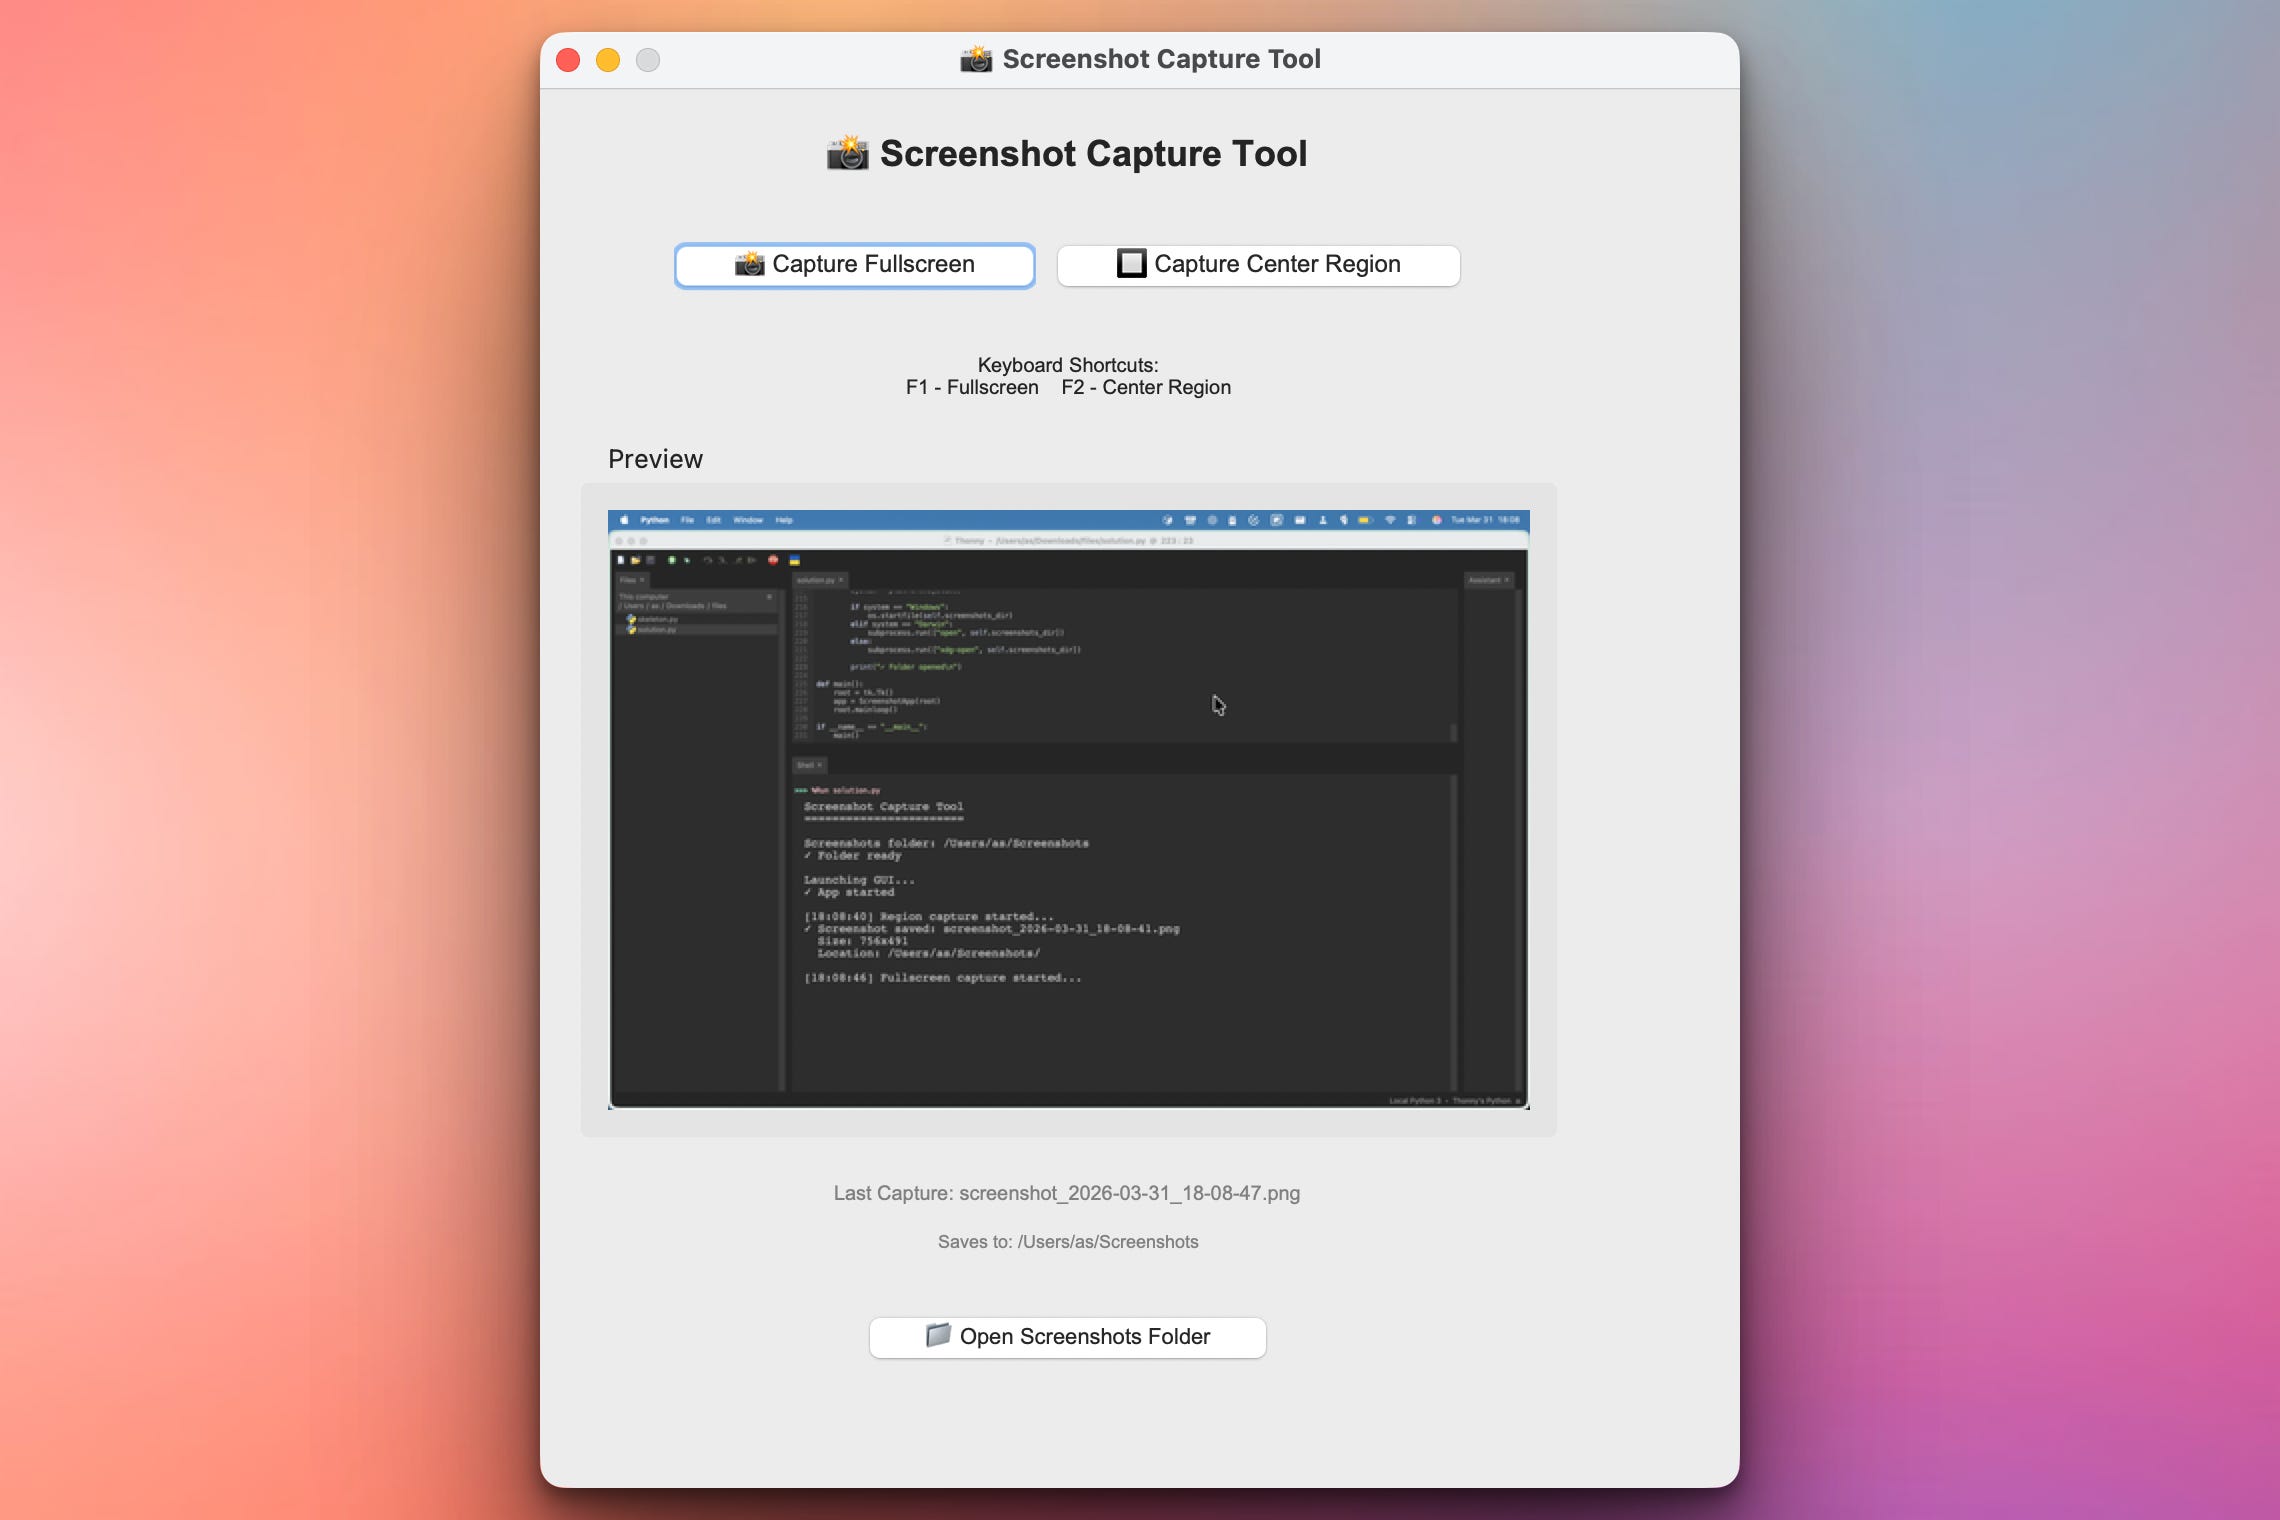
Expected Output
App Window:
Setup Instructions
Install Required Packages:
pip install pillow mssThat’s it! No API keys, no configuration files, no external services needed.
What each package does:
pillow(PIL) - Image processing and manipulationmss- Fast, cross-platform screenshot library
Note: tkinter comes built-in with Python (no installation needed)
Run the app:
python solution.pyMac users: First time you run it, Mac may ask for Screen Recording permission. Grant it in: System Preferences → Privacy & Security → Screen Recording
Understanding mss Library
Why mss instead of other screenshot libraries?
✅ Cross-platform - Works perfectly on Windows, Mac, and Linux
✅ Fast - Much faster than PIL’s ImageGrab
✅ No dependencies - Pure Python implementation
✅ Multi-monitor support - Handles multiple screens easily
✅ Mac-friendly - No black screen issues or workspace problems
How it works:
with mss.mss() as sct:
    # sct.monitors[0] = all monitors combined
    # sct.monitors[1] = primary monitor
    monitor = sct.monitors[0]
    screenshot = sct.grab(monitor)

    # Convert to PIL Image
    img = Image.frombytes("RGB", screenshot.size,
                         screenshot.bgra, "raw", "BGRX")
Region capture:
region = {
    "left": 100,    # X coordinate
    "top": 100,     # Y coordinate
    "width": 800,   # Width in pixels
    "height": 600   # Height in pixels
}
screenshot = sct.grab(region)
Coming Tomorrow
Tomorrow we’ll add annotation tools — open captured screenshots, draw arrows and shapes, add text, highlight areas, blur sensitive information, and save annotated versions. Transform captured screenshots into professional documentation!
Skeleton and Solution
Below you will find both a downloadable skeleton.py file to help you code the project with comment guides and the downloadable solution.py file containing the correct solution.
Get the code skeleton here:
Get the code solution here: