

Build a "Whisper Flow" Voice Dictation Clone: Day 2 - “Whisper Flow” mode —keyboard key to record anywhere
Press a key, dictate, text appears in whichever app you’re in.

Yesterday’s script worked — but only if you were sitting in the terminal. Every voice note meant Cmd+Tab to the terminal, wait, copy the transcript, Cmd+Tab back to your target app, paste. Real dictation apps don’t make you do that. Whisper Flow and Superwhisper both run invisibly: no window, no terminal, no context switch. Press a key anywhere on your system, speak, release, and the text lands directly in whichever app you had focused.
Today we build that.
Projects in this week’s series:
Day 1 (Yesterday): CLI recorder + local Whisper transcription
When the user runs the Day 1 script, they get prompted to press Enter, speak, and press Enter again. The transcript appears in the terminal and the audio + text are saved to ~/VoiceNotes/:
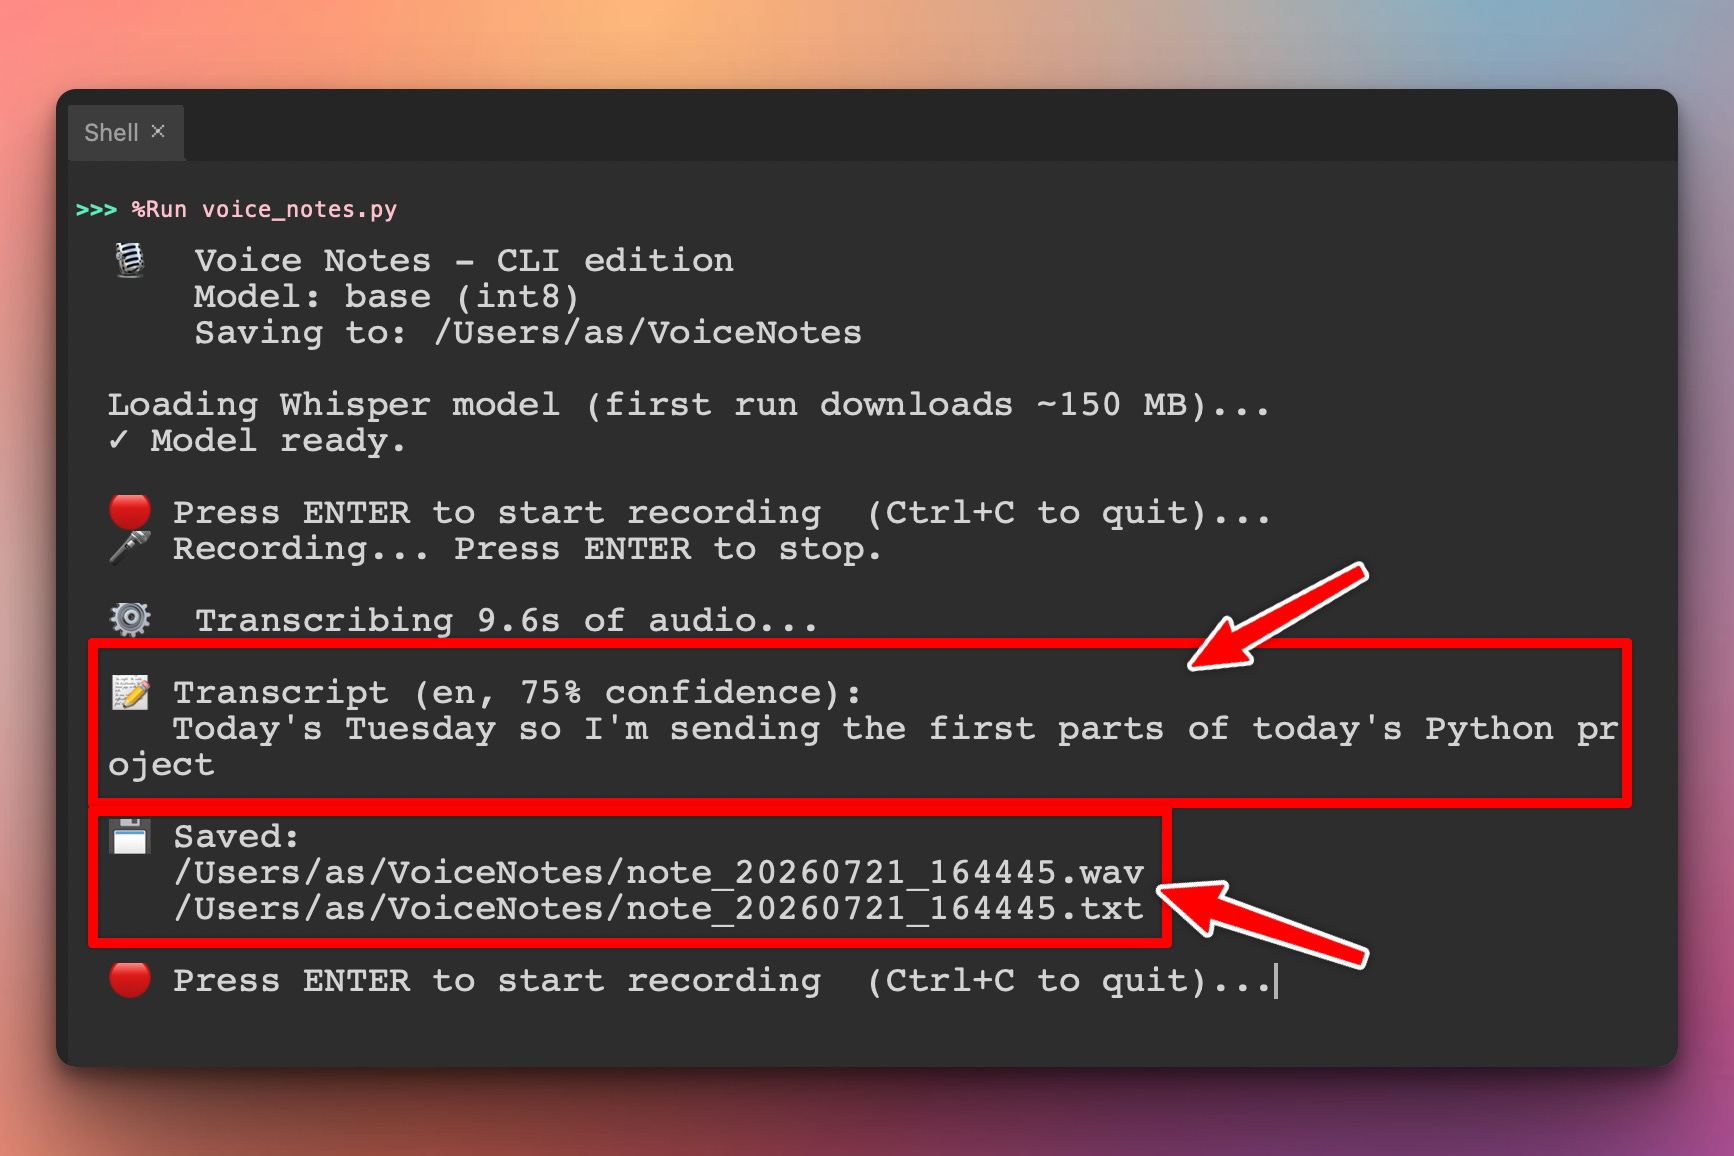
Everything runs locally — the transcript appears within a second or two of hitting Enter to stop. It works, but you have to be in the terminal.
👉 Day 2 (Today): “Whisper Flow” mode — press Right Option anywhere, dictate anything
When the user presses and holds Right Option (or Right Alt on Windows) inside any app on their computer, the voice notes daemon starts recording. On release, the transcript is typed directly into whichever app has focus. Here’s it landing in a Slack message input:
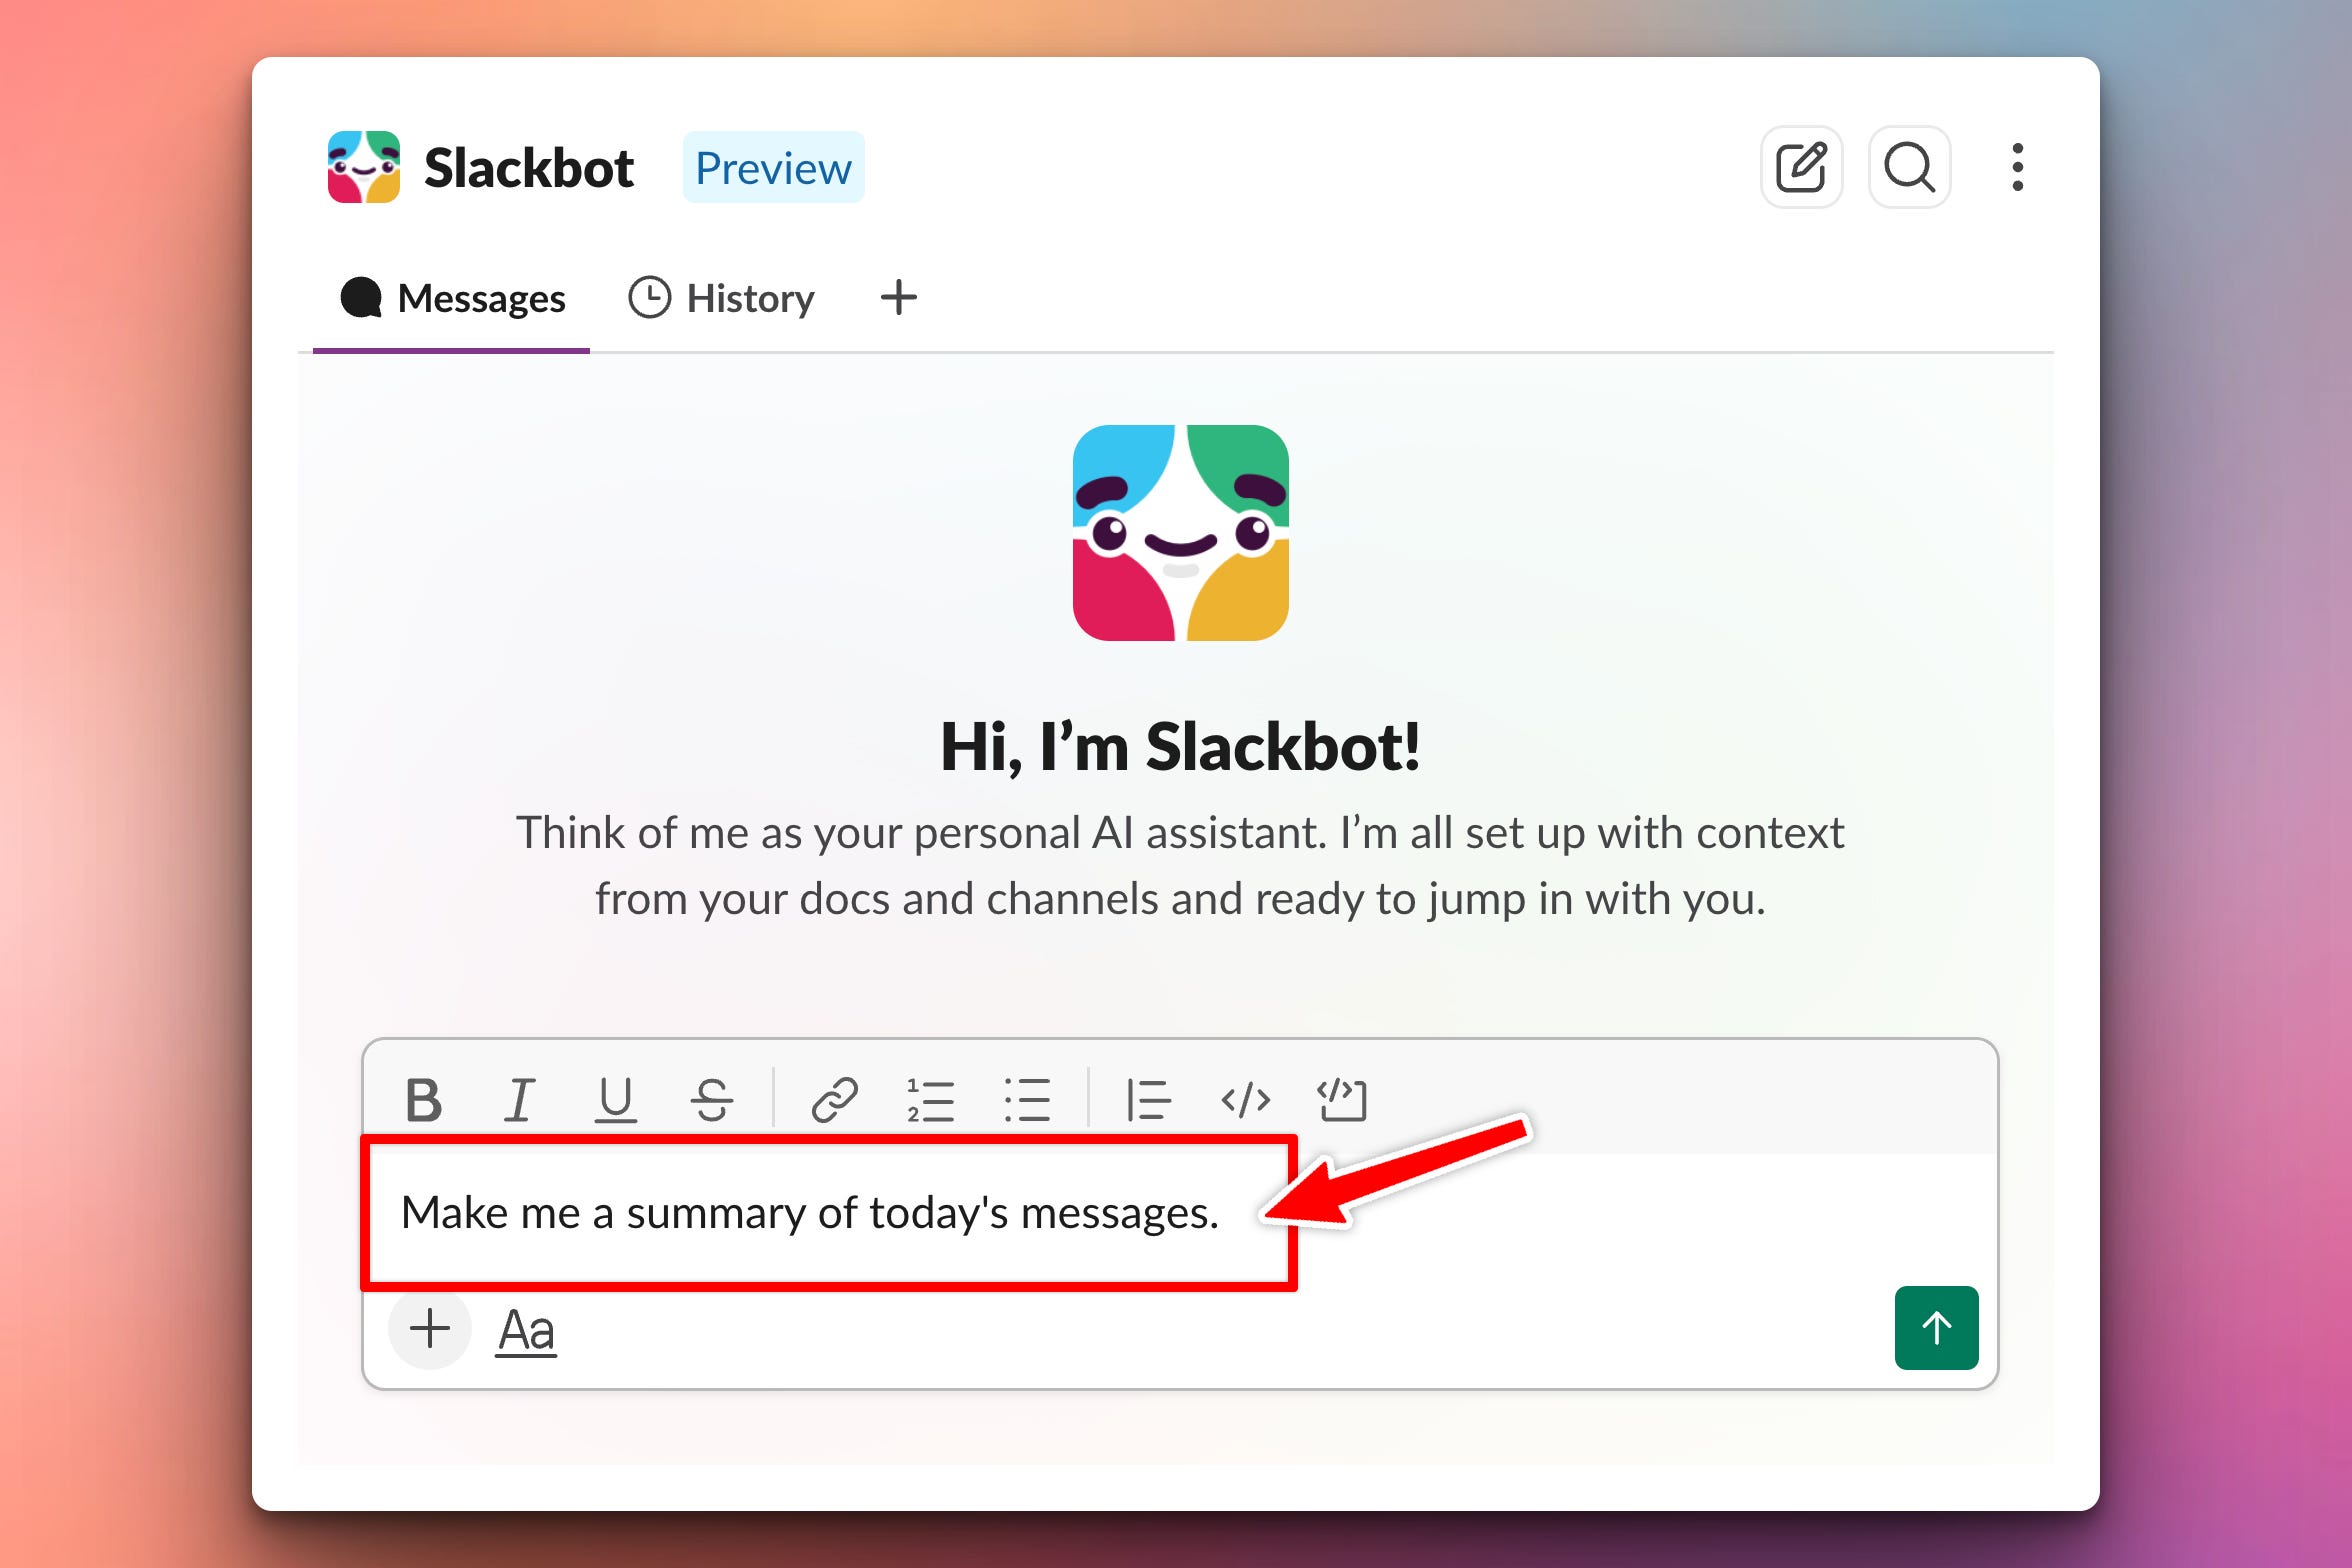
No window. No terminal to switch to. Just dictate, release, done. Same experience as the commercial dictation apps, running fully offline on your own hardware.
Today’s Project
The Day 1 script had two things wrong for real daily use:
You had to be in the terminal. No app you actually use fires up in the terminal — email, Slack, docs, code editors all live in their own windows.
The transcript went to a file. You still had to open that file, copy the text, tab back to your target app, paste. More clicks than just typing.
The fix is a background daemon that listens for a global hotkey. When you press it, the app records — no matter which window you’re in. When you release, the app transcribes and types the text into whichever window has keyboard focus. Nothing visible, no context switching, no copy-paste.
The daemon reuses Day 1’s record_until_stopped() and transcribe() functions unchanged. What changes is the trigger (a hotkey instead of ENTER) and the destination (a keystroke stream instead of a file). Same underlying pipeline; radically different UX.
Project Task
Build a background daemon that:
Loads a
faster-whispermodel on startup and prints a “ready” bannerUses
pynputto listen for a global hotkey (default: Right Option / Right Alt)On key press: starts recording from the microphone in a background thread
On key release: stops recording, transcribes, and types the result into whichever window has focus
Runs forever until Ctrl+C
Filters out accidental quick taps (recordings under 0.3s)
Archives each note to
~/VoiceNotes/for later reference
This project teaches you pynput (global hotkeys + typing), how threading events coordinate press-and-release-driven state, and — critically — the macOS Accessibility permission dance that trips up everyone the first time.
Setup Instructions
This one’s more involved than Day 1 because we’re doing operating-system-level things — listening to keyboard events across all apps, injecting keystrokes into whichever app has focus. macOS in particular has security requirements that need explicit setup. Read this section carefully. Half the errors you’ll hit are permissions, not code.
Python dependencies (all platforms):
pip install sounddevice soundfile numpy faster-whisper pynput
If Day 1 already installed the first four, only pynput is new.
macOS setup — the Accessibility permission
You need to grant Accessibility permission to whichever app runs the script. This is macOS’s security model for anything that observes or injects keyboard events — Python needs it, Chrome needs it, Zoom needs it. Without it, pynput still runs, but macOS feeds it garbage events. The daemon will appear to record and stop on its own, in an infinite loop, without you touching anything. If that happens to you, permission is the problem, not the code.
The app that needs permission is the one running python — usually Terminal, iTerm2, Warp, or your IDE. Not Python itself.
To grant it:
Open System Settings → Privacy & Security → Accessibility
Click the + button
Add Terminal (path:
/System/Applications/Utilities/Terminal.app), or whichever terminal you actually useToggle the switch next to it on
Fully quit Terminal with Cmd+Q (not just close the window) and reopen it
That last step is non-negotiable. macOS only checks the permission list at process startup. A running Terminal keeps behaving as unpermitted even after you flip the toggle, until you fully quit and relaunch.
macOS setup — the SSL cert gotcha
If you get an SSL certificate error the first time faster-whisper tries to download the model — something like FileNotFoundError: [Errno 2] No such file or directory deep in the traceback, pointing at a .pem file — you’ve been bitten by a stale SSL_CERT_FILE environment variable. Fix it with:
unset SSL_CERT_FILE
python3 voice_notes_daemon.py
If that works, find where the variable is being set and remove it permanently:
grep -H SSL_CERT_FILE ~/.zshrc ~/.zprofile ~/.bash_profile 2>/dev/null
Delete the offending line from whichever file grep finds it in. This isn’t a problem with your code or with faster-whisper — it’s a common misconfiguration on Macs that had older Python setups or Anaconda installed at some point.
Windows setup
pynput works out of the box on Windows. No permissions, no config. Just install and run.
One note: some antivirus software flags apps that install global keyboard hooks, which is what pynput does under the hood. This is a legitimate flag in general — apps that watch keystrokes globally could be keyloggers — but our code only reads press/release events for the hotkey and never captures other keys’ values. Whitelist the script or the Python interpreter if your antivirus balks.
Linux setup
pynput needs an X server. If you’re on desktop Linux, you already have one. Wayland users get “failed to acquire X connection” errors — either switch to an X11 session or install xwayland. pynput‘s Wayland support is limited as of writing.
Choosing your hotkey
The default hotkey is Right Option on Mac, called Right Alt on Windows keyboards. In pynput it’s keyboard.Key.alt_r — one code, both platforms.
Why not CAPS LOCK, which is what commercial apps seem to use?
Because CAPS LOCK on macOS is a broken abstraction for userspace keyboard libraries. Unlike every other key, CAPS LOCK doesn’t send normal press-and-release events at the OS level — it’s a hardware toggle, and macOS emits weird 0-millisecond press-plus-release event pairs that pynput can’t reliably interpret. You end up with the daemon firing “recording started / recording stopped” on its own, in a loop, without touching the keyboard. I spent longer than I’d like to admit figuring this out.
Commercial dictation apps that use CAPS LOCK reach for lower-level APIs than Python has access to from userspace. The nearest equivalent you can build in plain Python is Right Option, which sits on the same row as CAPS LOCK, is rarely used for anything else, and behaves like a normal key.
If you really want CAPS LOCK on Mac: install Karabiner Elements — free, well-maintained, the standard tool for Mac keyboard remapping — and remap Caps Lock → F13. Then set the daemon’s hotkey to keyboard.Key.f13. Karabiner handles the CAPS LOCK weirdness at the hardware event level, and pynput never sees anything unusual. But honestly? Right Option works great and requires zero extra software. Don’t add complexity for a wart.
Windows users don’t have a “Right Option” key — the same physical key is labeled “Right Alt” or “AltGr” on international keyboards. Same pynput code (Key.alt_r), different physical label. No remapping needed.
Running it
python voice_notes_daemon.py
You should see this in the terminal:
🎙️  Voice Notes daemon
    Model: base (int8)
    Hotkey: Key.alt_r
    Archive: /Users/you/VoiceNotes

Loading Whisper model...
✓ Model ready.

🟢 Ready. Hold Key.alt_r anywhere on your system to dictate.
Then the daemon goes quiet. Silence is correct. If “Recording...” messages appear immediately without you pressing anything, that means macOS Accessibility permission isn’t granted, or the terminal wasn’t fully quit after granting it. Go back to the Accessibility section above.
Once it’s idle at the “🟢 Ready” line: open any other app, put your cursor in a text field, hold Right Option, speak a sentence, release. The daemon prints a transcription line, and the text appears in the app you had focused.
Understanding Global Hotkeys with pynput
Yesterday’s script used input() — a built-in that reads from stdin. It only fires when the terminal window has focus. That’s the opposite of what we want.
We want to listen for key presses anywhere on the system, regardless of which app has focus. That’s called a global hotkey, and it requires operating-system-level integration:
On macOS: the Quartz event system
On Windows: the SetWindowsHookEx API
On Linux: the X server or evdev
pynput wraps all three behind one Python API. You never touch the platform-specific code:
from pynput import keyboard

def on_press(key):
    print(f"pressed: {key}")

def on_release(key):
    print(f"released: {key}")

with keyboard.Listener(on_press=on_press, on_release=on_release) as listener:
    listener.join()
The Listener runs in its own thread, calling your callbacks whenever a key event happens anywhere on the system. listener.join() blocks the main thread until the listener stops.
This is the entire core of what commercial dictation apps do. Everything else is polish.
Understanding the Press-Release State Machine
Our daemon has three states:
Idle — no key held, no recording
Recording — hotkey pressed, audio flowing
Transcribing — hotkey released, waiting for Whisper
The state transitions are triggered by press/release events, not by ENTER. Two subtleties:
The listener callback thread must not block. If we started the actual recording synchronously in on_press, the listener would freeze — meaning it would miss the release event. Instead, we hand recording off to a new thread and use a threading.Event from Day 1 to signal stop:
recording = False
stop_event = threading.Event()

def on_press(key):
    global recording
    if key == HOTKEY and not recording:
        recording = True
        stop_event.clear()
        threading.Thread(target=record_and_transcribe, daemon=True).start()

def on_release(key):
    global recording
    if key == HOTKEY and recording:
        stop_event.set()
        recording = False
The recording flag prevents double-starts when a key auto-repeats. On some keyboards, holding a key down makes the OS fire “press” events repeatedly. Without the flag, each auto-repeat would spawn a fresh recording thread — chaos. The flag ensures one press = one recording session, no matter how many repeat events arrive during the hold.
Three threads coordinating: the main thread runs the listener, the listener thread calls our callbacks, and each recording session spawns a worker thread. Sounds like a lot, but it maps cleanly: one thread per concern, no thread ever blocking another.
Understanding Typing Into the Focused Window
Once we have transcribed text, we inject it into whichever app has keyboard focus. pynput handles this with a Controller:
from pynput.keyboard import Controller

kb = Controller()
kb.type("hello world")
That’s it. type() iterates through each character and synthesizes press+release events for it. From the OS’s perspective, it’s indistinguishable from a human typing very fast. The text lands in whichever field currently has focus — which is exactly what we want, because the user’s cursor was there before they held the hotkey.
There’s one gotcha worth flagging: type() can be slow for long text because it’s really simulating individual keystrokes. For a 200-word paragraph you might see a subtle typing animation. That’s authentic UX (matches what commercial apps do) and rarely a problem, but if you want instant paste-style insertion, put the text on the clipboard with pyperclip and simulate Cmd+V / Ctrl+V instead. Left as an exercise.
Understanding the Accessibility Permission Under the Hood
macOS-specific, but worth explaining what’s actually going on because the failure mode is confusing.
macOS enforces TCC (Transparency, Consent, and Control) — a database of which apps can do which sensitive things. Reading global keyboard events is one of the sensitive things. Every app that wants to observe keyboard events across other apps must be individually approved in System Settings → Accessibility.
The reason pynput doesn’t just crash without permission is that macOS deliberately lets the process create the event listener — it just feeds it garbage. This is a security design: apps that don’t have permission are silently sandboxed from the real event stream, so a malicious keylogger can’t tell whether the user knows about it. From the app’s point of view, everything looks fine; it’s just receiving fake events.
The practical implication for us: when the terminal doesn’t have Accessibility permission, pynput sees phantom events — 0ms-duration press-plus-release pairs, ghost keystrokes — that trigger the daemon’s callbacks. That’s why the symptom of missing permission is “recording started / recording stopped fires by itself” instead of a clean error message. It’s not the code being buggy. It’s macOS feeding fake data as a security measure.
After granting permission and fully quitting the terminal, the event stream becomes real. Press a key, pynput sees a real press. Release, it sees a real release. Silence when idle.
Understanding Why This Composes with Any App
The reason the daemon works in Slack, VS Code, Google Docs, terminal, email, and every other app is that we’re not integrating with any of them. We’re operating at the OS level, one layer below the applications. macOS, Windows, and Linux each own their own keyboard focus model. Whichever app currently has focus receives the keystrokes we generate — the app has no idea whether they came from a human, a Bluetooth keyboard, or a Python daemon.
This is the architectural insight behind commercial dictation apps. They don’t have Slack integrations. They don’t have VS Code integrations. They just type into the OS’s keystroke stream, and every app that receives keystrokes normally receives their keystrokes too. Universal by construction.
The trade-off: we can’t do app-specific behavior. We can’t detect that we’re in Slack and format the text as a reply-to-thread. We can’t notice we’re in VS Code and put the text in a comment vs. code. But 95% of the daily value is just “make the text appear where my cursor is” — and that’s what we do, in every app, forever, with no integrations to maintain.
Practical Use Cases
Meeting notes on the fly: Cursor in your notes app, dictate a bullet, release. Cursor in your Slack channel, dictate a message, release. No app switching, no re-focusing.
Writing code comments: Cursor in a code file. Hold, describe what the function does, release. The comment types itself. This is how you get comments on functions you’d normally skip because typing them is friction.
Dictating emails: The hardest part of email is starting. Voice makes the first draft trivial. Cursor in Gmail’s compose box, hold hotkey, ramble, release, edit. Ships faster.
Language learning: Whisper is multilingual. Dictate in Spanish, get Spanish text. Dictate in French, get French text. Detects the language automatically per recording.
Accessibility: For anyone whose typing is limited by RSI, tremor, or vision. Fully offline means no cloud dependency, no privacy trade-off, works on airplanes.
What You’ve Accomplished This Week
Two days ago, you had no dictation tool. Now you have one that’s competitive with $12/month commercial apps, running fully on your machine, forever.
You’ve learned:
Real-time audio recording with
sounddeviceand thread-safe queuesLocal AI transcription with
faster-whisper— no API keys, no data leaves your machineGlobal keyboard event capture with
pynputProgrammatic keystroke injection into the OS event stream
How macOS Accessibility permission actually works under the hood
Why CAPS LOCK is a landmine on Mac for userspace apps, and how to route around it
The tool is useful daily, and you own every line of the code. Modify the hotkey. Add auto-save to a specific folder per app. Trigger different behavior when you double-tap the hotkey. Change the model size for accuracy vs. speed. This isn’t a toy tutorial — it’s a real personal productivity tool that will still work five years from now, because it depends on nothing except your local machine.
Next steps you might explore:
Add sound feedback (a subtle beep on recording start/stop) using
simpleaudioorplaysoundAdd a menu bar icon (macOS) or system tray icon (Windows) using
rumpsorpystrayso you can see the daemon status at a glanceSwap
type()for clipboard-paste (pyperclip+Cmd+V) for instant insertion instead of simulated typingAdd language selection — press the hotkey once for English, twice quickly for Spanish, etc.
Swap the
basemodel forsmallormediumif you want more accuracy and can spare the extra CPU
That’s the finish line for this week. See you next Tuesday.
Solution
The complete daemon code — hotkey listener, threading choreography, and the type-into-focused-window integration — is below. Save it as voice_notes_daemon.py, install the dependencies, grant Accessibility permission (macOS), and run.
Keep reading with a 7-day free trial
Subscribe to Daily Python Projects to keep reading this post and get 7 days of free access to the full post archives.